Home > Configuration Portal > Requisition Configuration > Manage Fields > Add a New Field
Add a New Field
Follow the steps below to add a field:
-
Navigate to Requisition > Field library.
-
Click the Add button.
-
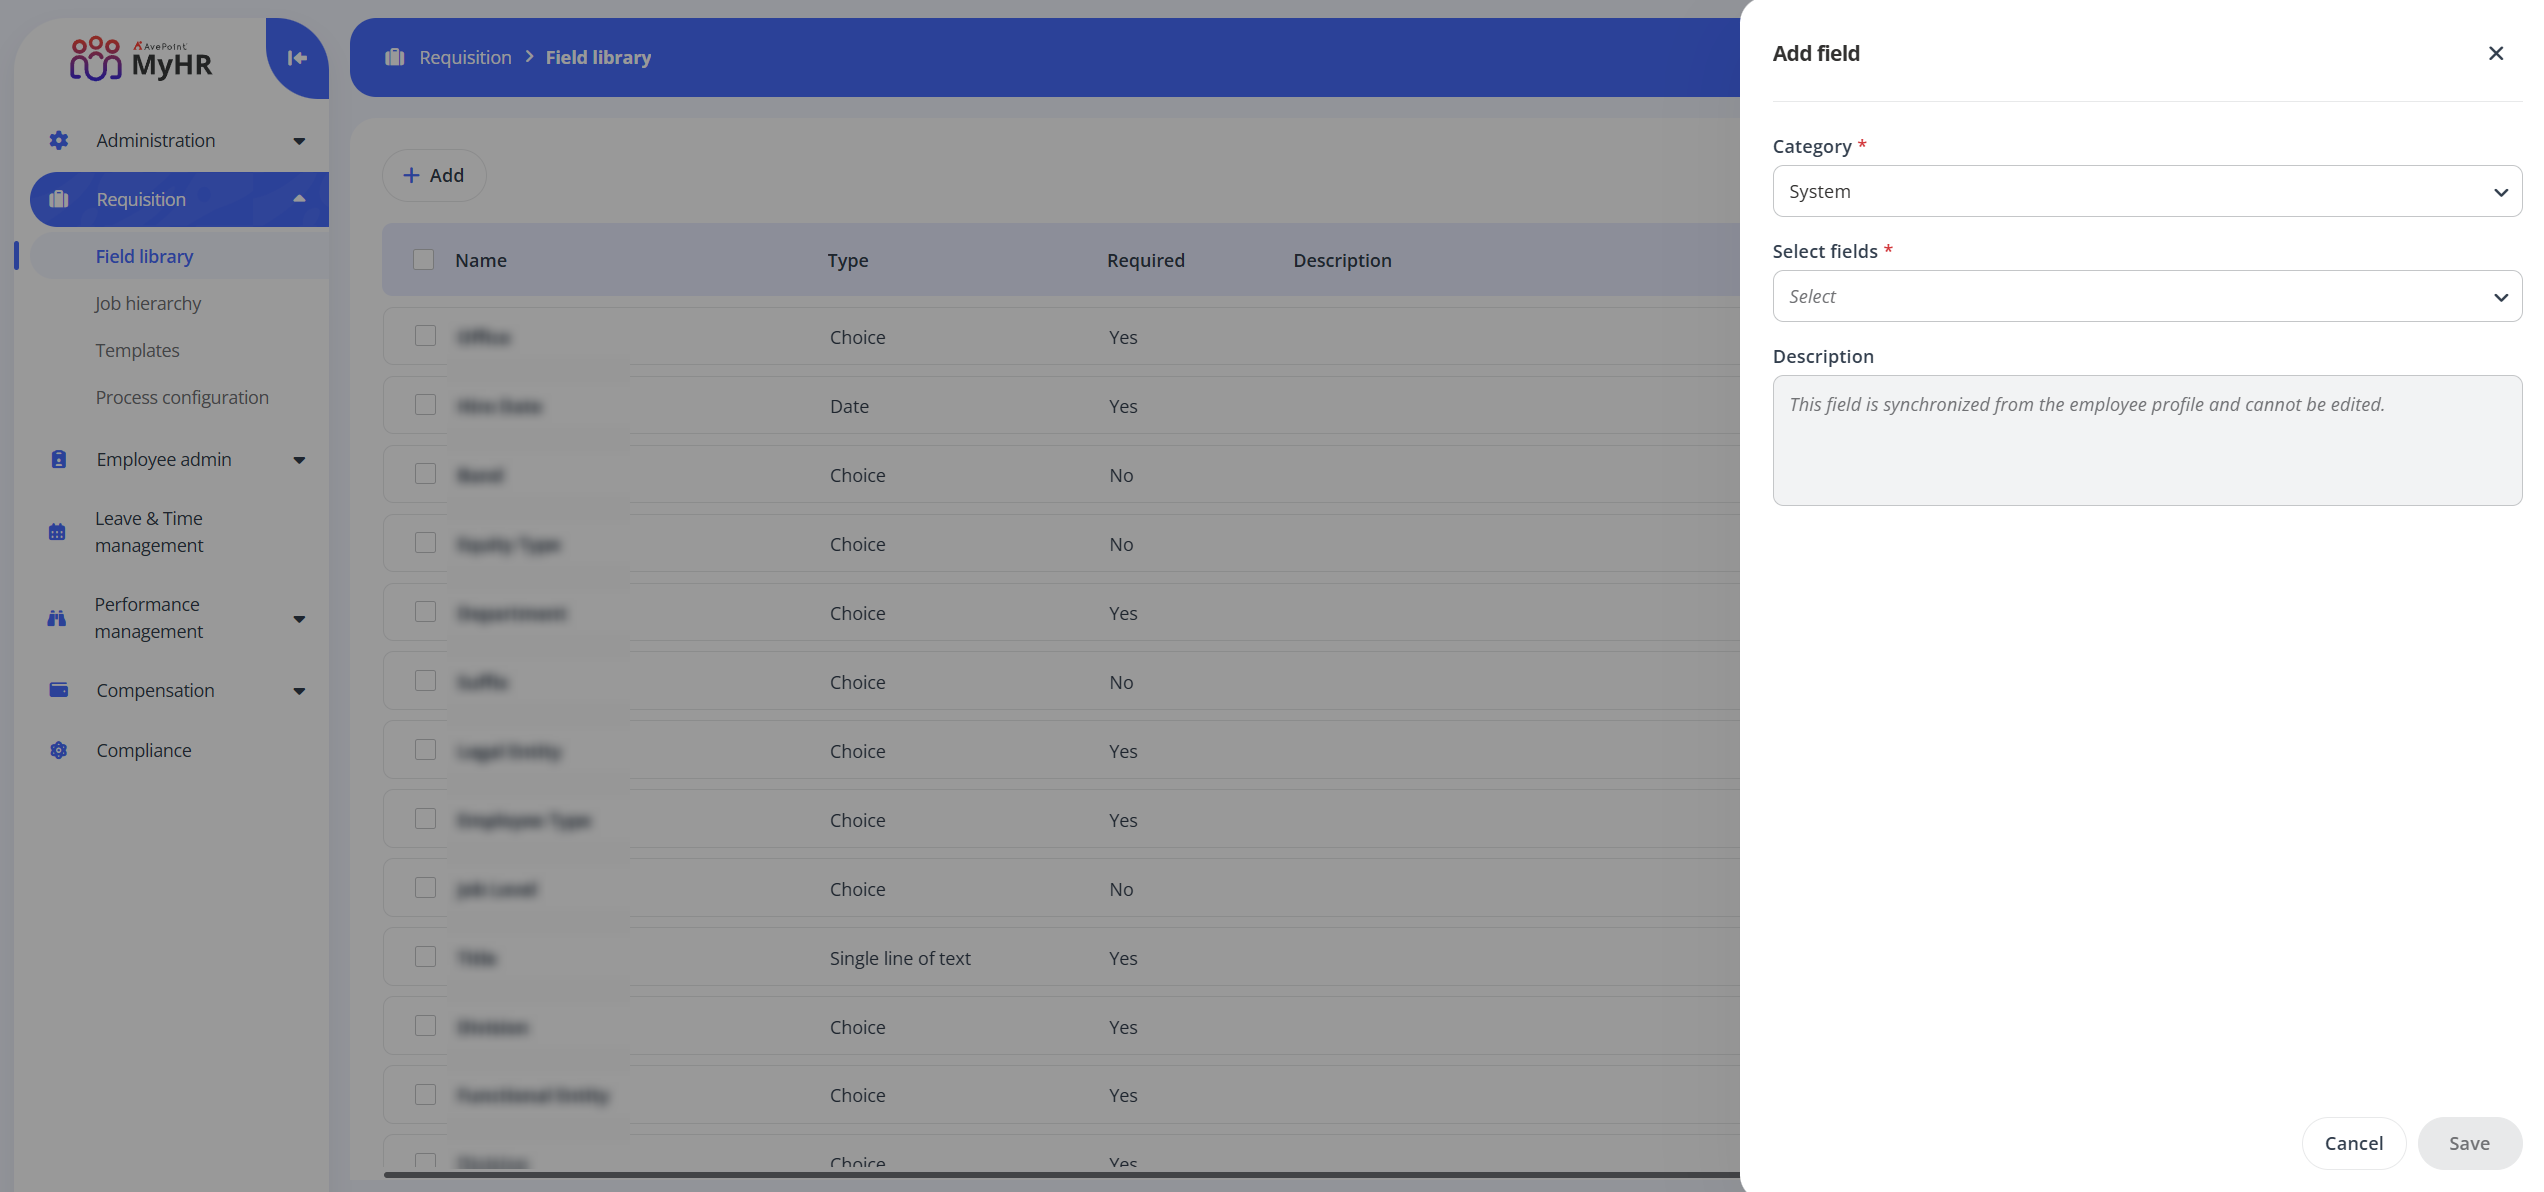
In the Add field panel, complete the following settings:
-
Category - Select a field category from the drop-down list.
-
System - Fields configured in Employee admin > All fields module. System is the default choice.
-
Custom - Customized fields.
-
-
Select fields - Complete the following steps:
-
If you select System as the field category, select fields from the drop-down list as needed.
-
If you select Custom as the field category, complete the following settings:
-
Field type – Select a field type.
-
Field name – Enter a name for the field you are creating.
-
Description - Enter description for the field as needed.
-
Special settings – Configure the following settings based on the selected field type:
-
Single line of text/Multiple lines of text – If you select Single line of text or Multiple lines of text as the field type, enter a number in the Maximum text length box to set the character limit.
-
Choice – If you select choice as the field type, enter your choices, configure the Allow ‘fill-in’ choice setting, set a default choice, and then configure the Multiple answers option .
NOTEIf the fill-in choice is allowed, employees can add their own custom values as choices instead of being limited to the predefined choices when configuring the field in the employee profile.
-
Yes/No – If you select Yes/No as the field type, set the default choice for the field.
-
Number – If you select Number as the field type, you can the turn on or turn off the Show as percentage switch. When the setting is enabled, the number will be displayed as percentage.
-
Date – If you select Date as the field type, you can the turn on or turn off the Include time switch. When the setting is enabled, the field will show both the date and time. When the setting is disabled, only the date will be displayed.
-
Currency – If you select Currency as the field type, you can the turn on or turn off the Use thousand separator switch, enter currency units, and set a default currency unit.
-
Lookup - If you select Lookup as the field type, the field will be retrieved from the Job hierarchy module > Job Code field.
-
-
Common settings – Configure the following settings:
-
Required field – Turn on the switch to make the field mandatory.
-
Enable tooltip – Turn on the switch to enable the field to display helpful hints. You can enter the tooltip content in the appeared text box.
-
-
-
-
-
Click Save to save this field.